
Last updated November 16, 2026
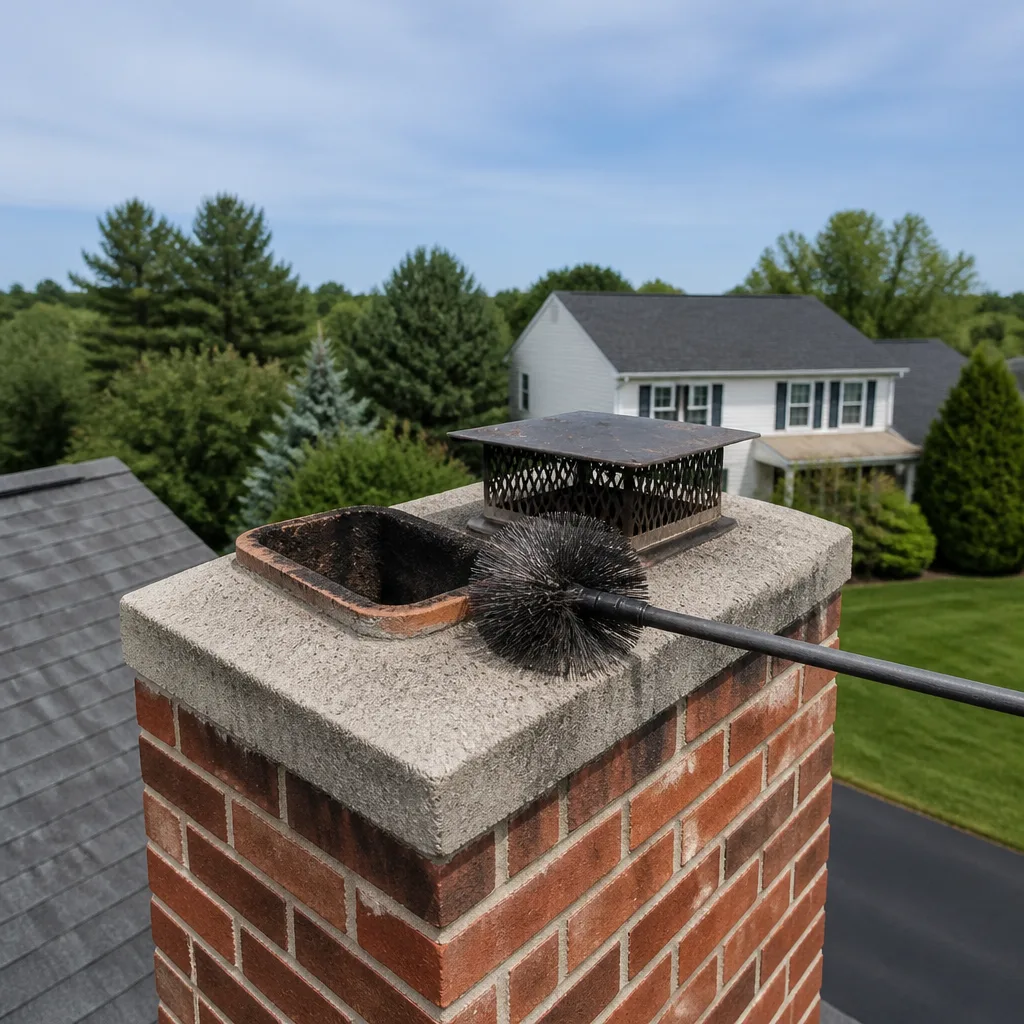 Sweep & inspection
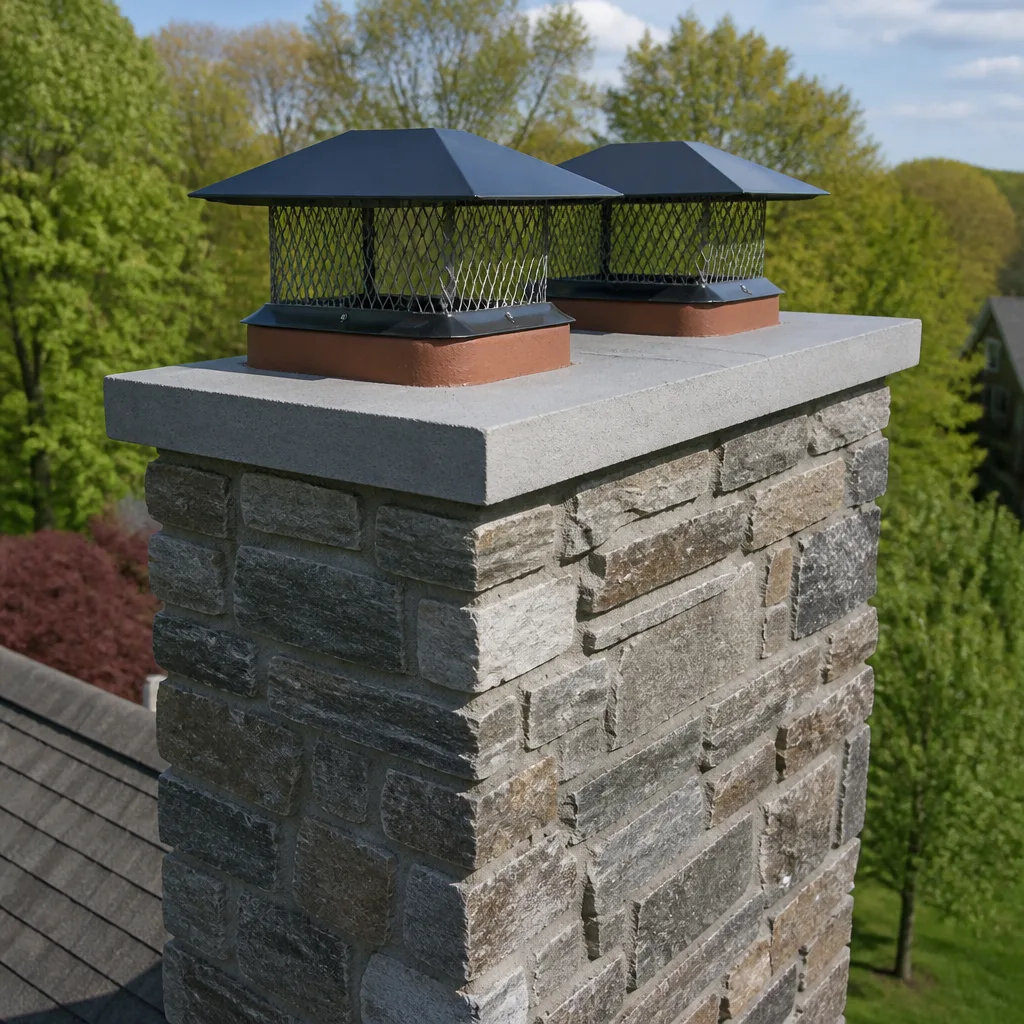 Caps & crowns
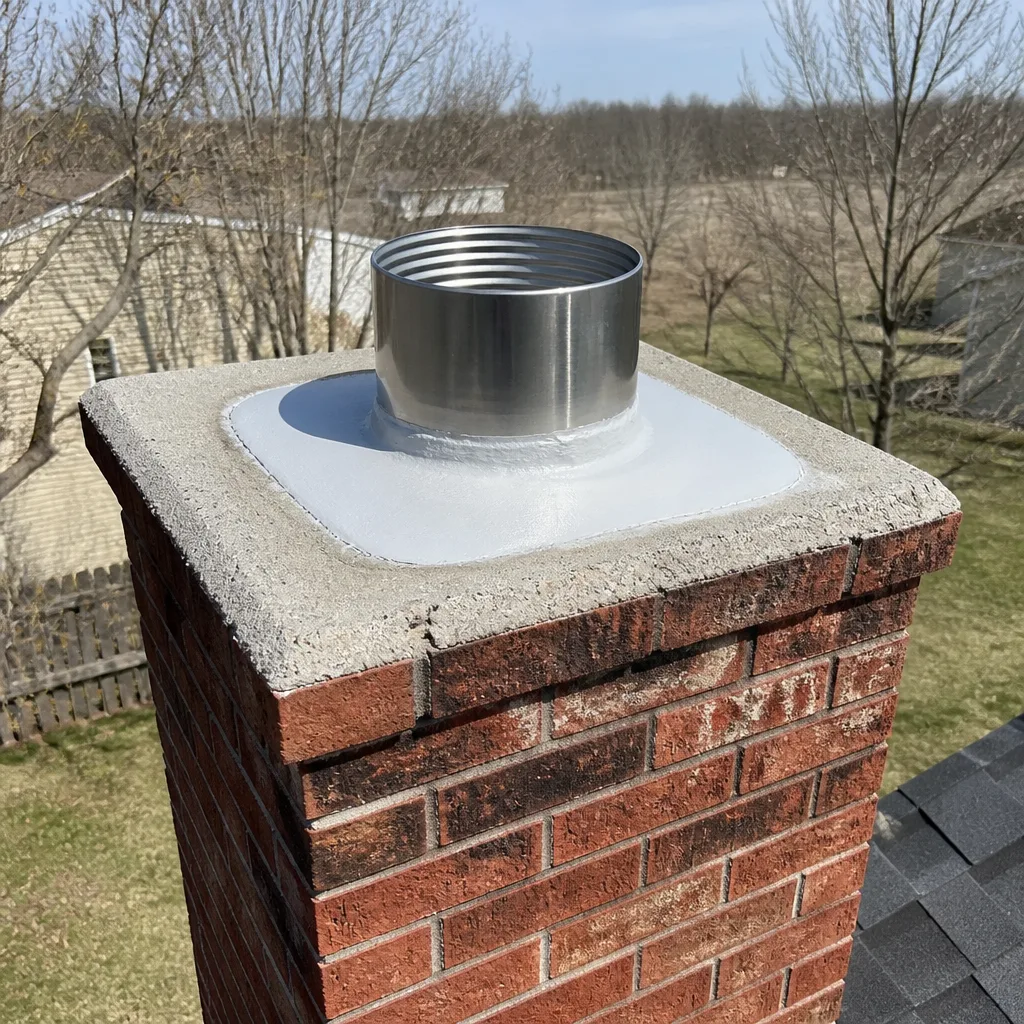 Flue relining
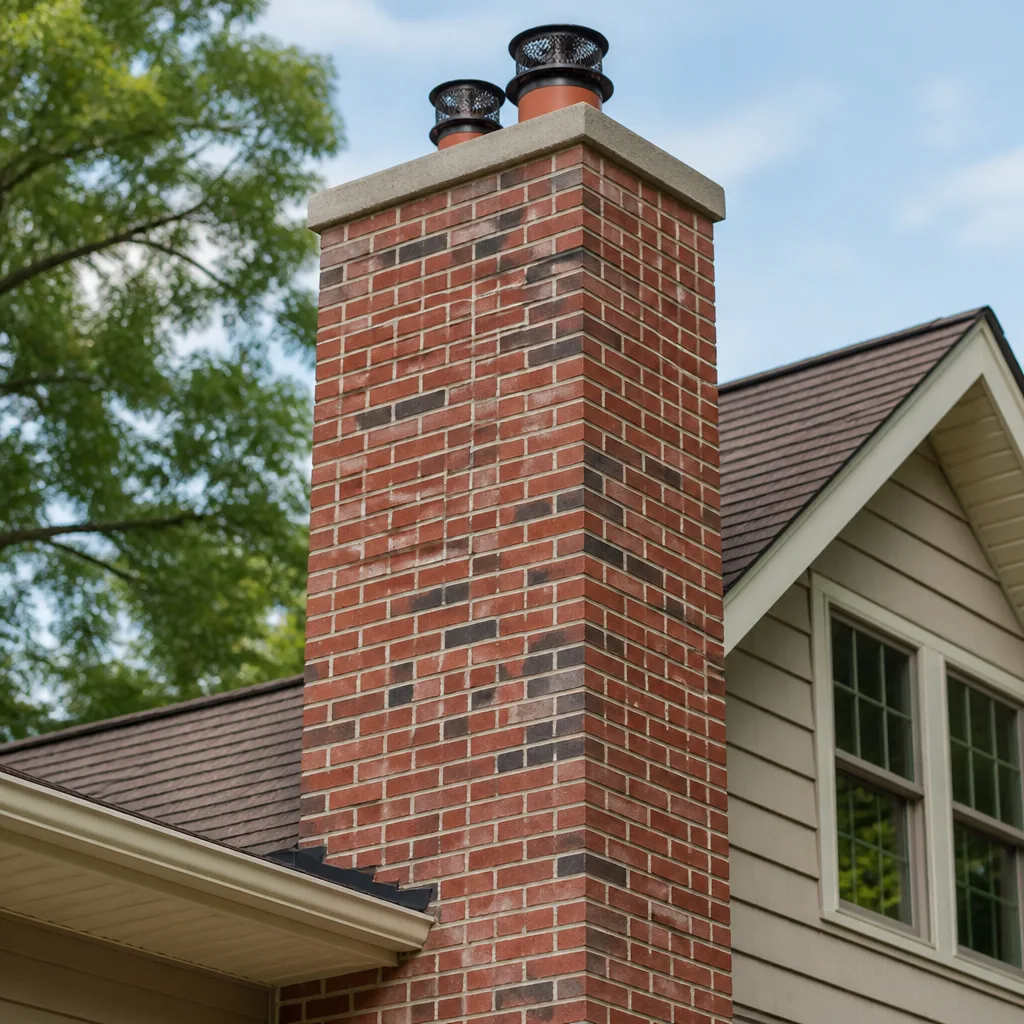 Masonry repair
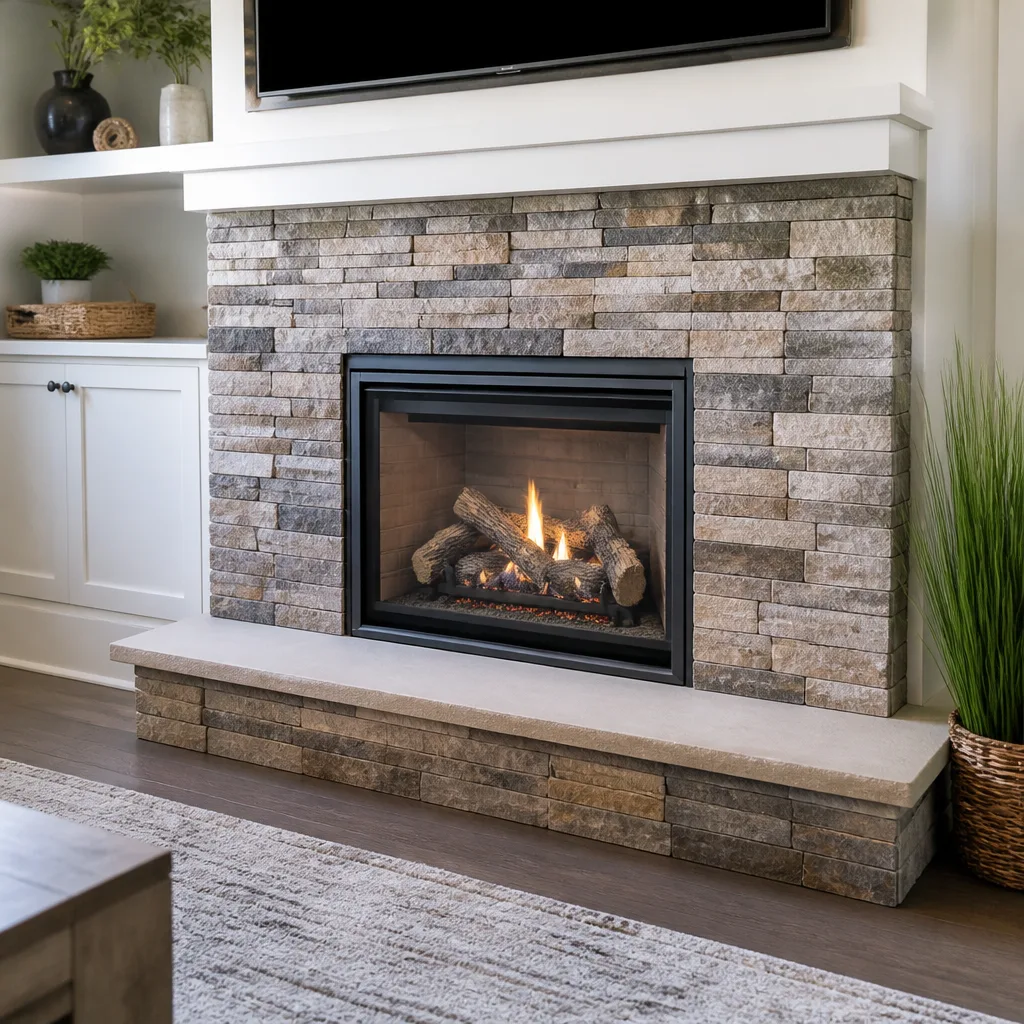 Gas fireplace service
Level 1 sweep and inspection to the NFPA 211 annual standard - flue, crown, cap, and flashing checked and photographed
Chimney sweep logs do not sweep chimneys. They loosen some creosote - which then falls where a brush and vacuum still have to collect it.
Chimney Sweep Maintenance Checklist for Edmond Homeowners
Most homeowners who think they’ve checked their chimney have done one thing: shined a flashlight up the flue from the fireside and called it a day. What they actually saw was a small slice of the system. The cap, the crown, the flashing where the chimney meets the roof, the firebox mortar joints, and the smoke chamber above the damper are all invisible from where you stand. Checking your chimney properly means working through the whole assembly, part by part, and knowing what a problem looks like in each one. This guide is that breakdown. It covers what to look at, what to leave alone, what Edmond weather does to a chimney over a year, and the handful of signs that mean you shouldn’t light another fire until someone qualified has looked at it.
Quick Answer
A thorough chimney maintenance checklist for an Edmond home covers six zones: cap and crown, flashing, flue liner, smoke chamber, damper, and firebox. Homeowners can safely inspect the cap, crown, and external masonry with binoculars from the ground, but the liner, smoke chamber, and flue interior require a camera and the right tools. Schedule a professional sweep and inspection once a year, ideally before the first fire of fall, and after any major freeze or storm event that could have cracked masonry or loosened a cap.
Styles & brands we work with
- Sweep & inspection
- Caps & crowns
- Flue relining
- Masonry repair
- Gas fireplace service
Table of Contents
- Why One Look Up the Flue Isn’t a Checklist
- The Six-Zone Chimney Inspection Breakdown
- What You Can Check Yourself vs. What Needs a Professional
- Oklahoma Seasonal Triggers: Freeze, Storm, and First Fire
- How to Document Chimney Condition Year Over Year
- Red Flags That Mean Stop Using the Fireplace Tonight
- A Simple Annual Maintenance Timeline for Edmond
- Common Mistakes to Avoid
Why One Look Up the Flue Isn’t a Checklist
When people hear “chimney sweep,” they picture a brush on a rod and a puff of soot. That’s the visible half of the work. The half that actually determines whether your chimney is safe involves the parts a brush never touches and a flashlight can’t reach. A flue can look clean from below and still have a cracked liner, a warped damper, or a smoke chamber with jagged mortar that catches creosote and holds it where it burns hottest.
This is the difference between a cleaning and a maintenance program. A cleaning removes what’s there. A maintenance program looks at the whole system, compares what it sees to what it saw last year, and flags what’s drifting toward trouble. In our experience working on Edmonton-area chimneys, the repairs that cost real money and force urgent calls are almost always problems that were visible a year or two earlier on a proper inspection: a hairline crack in the crown that let water in, flashing that pulled away from the masonry, a liner joint starting to separate.
Edmond homes see a specific set of stress factors that a generic national checklist misses. The clay soil here shifts with moisture, and that movement works on the foundation and the chimney base over time. Summers are hot enough to bake a masonry crown and open small cracks. Winters bring hard freezes that drive water into those cracks and split them wider. A checklist written for a mild coastal climate simply doesn’t account for any of this. The one below does. It treats your Edmond Chimney Sweep chimney as what it is: an interconnected assembly where each part’s condition affects the others.
By the end of this guide, you’ll know exactly what to look at yourself, what to photograph and track, when to push the timing of a repair, and the specific signs that mean tomorrow’s fire is off the table. If you take one thing away, make it this: the checklist below protects your chimney, but it also protects your wallet, because timing a repair beats discovering one.
The Six-Zone Chimney Inspection Breakdown
Think about your chimney in six distinct zones, from the top of the roof down to the firebox. Each zone has its own failure modes, and each has a specific set of things worth checking. This section walks through every one.
Zone 1: The Cap
The cap covers the flue opening and keeps rain, snow, birds, and squirrels out. Look up from the yard with binoculars. What you want to see: a cap that’s intact, securely fastened, and sized correctly for the flue. What gives trouble away: rust-through on the mesh, a cap sitting askew after a windstorm, or a screen that’s torn and letting debris in. A missing or failed cap lets water straight into the flue, and that water does its worst in winter. The venting hardware around a cap – and it’s worth having a professional-grade cap like those from Gelco rather than a loose hardware-store replacement – is one of the cheapest fixes on a chimney and one of the more consequential ones to skip.
Zone 2: The Crown
The crown is the sloped concrete surface at the very top of the masonry. Its whole job is to shed water away from the chimney structure. Hairline cracks in a crown are normal as concrete ages, but once those cracks widen, water gets in, freezes, and widens them further. A crown that looks like a spiderweb of cracks, or one where chunks have spalled off the edge, is a crown that’s failing. This is also the zone where Edmond’s freeze-thaw cycle does its clearest work.
Zone 3: The Flashing
Flashing is the metal that seals the joint where the chimney meets the roof. It’s the most common source of chimney-related water intrusion, and it’s the hardest zone to inspect from the ground. Signs of flashing failure: staining or dark streaks on the roof sheathing near the chimney, damp patches on the ceiling below, or visible flashing that’s pulled away, lifted, or caulked over repeatedly. Water getting past flashing often shows up inside the house as a mystery leak that gets traced to the chimney long after the roof has been blamed.
Zone 4: The Flue Liner
The liner is the wall between the fire and the chimney structure. It carries the smoke safely up and out, and it must be continuous. Cracks, gaps at the joints, or a liner that’s missing sections entirely allow heat and combustion gases into the surrounding masonry – and that’s where a chimney fire that stays in the flue becomes a house fire. A flashlight from the firebox will not show you the state of a liner. A camera run down the flue will. This is the single biggest reason a professional inspection on an Edmond chimney is worth doing.
Zone 5: The Smoke Chamber and Damper
The smoke chamber is the sloped space above the damper and below the flue. It’s designed to compress smoke and speed it upward, but over years it develops rough, corrugated mortar that catches creosote. HeatShield resurfacing is made for exactly this condition: it smooths the smoke chamber walls so creosote slides off and the draft improves. The damper needs to open and close freely, sit flush when closed, and not have rusted or warped blades. A damper that sticks open wastes heat; one that sticks closed lets smoke into the room.
Zone 6: The Firebox
The firebox is the box you build the fire in. What to check: mortar joints between the firebrick. Hairline cracks in the mortar are normal. Missing mortar, crumbling joints, or bricks that move when pushed are not. A deteriorating firebox lets heat and gases into the masonry behind the brick, and it’s a common finding in older Edmond homes that have seen a lot of fire seasons. Repair is often possible without dismantling the chimney, but only if it’s caught before the brick itself spalls.
What You Can Check Yourself vs. What Needs a Professional
Not every item on this checklist requires a licensed professional. Some things are worth doing yourself every season. Others genuinely require the tools and training of a chimney specialist, and trying to handle them yourself is how small problems become injuries or expensive repairs.
Safe for homeowners to check
- Cap condition: binoculars from the ground; look for rust, missing screen, misalignment.
- Crown appearance: again, from the ground. Are there visible cracks, chunks missing, or efflorescence (white staining) suggesting moisture?
- Damper operation: from the fireside, open and close it fully to confirm it moves freely.
- Firebox mortar joints: look at the joints between firebrick with a flashlight. Cracks are normal; missing mortar is not.
- Visible staining or dampness: check ceilings and attic near the chimney for water stains.
- Creosote buildup near the top of the firebox: a rough, dark, crusty layer just inside the damper is worth noting.
- Cap and screen fasteners: any obviously loose hardware you can see from below.
Requires a professional
- Flue liner inspection: requires a camera run down the flue from the roof. No flashlight from below will tell you what the liner looks like at roof level.
- Smoke chamber inspection: requires looking down at the chamber walls from above, which means roof access.
- Flashing inspection: requires knowing what the joint should look like and being on the roof safely.
- Masonry integrity: tapping and probing the masonry for hidden voids or softened mortar.
- Creosote depth measurement: the difference between a light dusting and a heavy glaze is the difference between a sweep and a more involved job, and it needs professional eyes.
- Anything requiring work at height: roofs are steep, Edmond afternoons are hot, and this is where injuries happen.
One more note on the do-it-yourself side: chimney sweeping brushes can be bought at hardware stores, but the technique matters. A brush the wrong size can scar a flue, and the debris that comes down has to be cleaned out of the smoke shelf, not just the firebox. If you’re already calling for the annual inspection, let the sweep be part of the same visit. Our chimney sweep service combines both so nothing is missed between cleaning and inspection.
Oklahoma Seasonal Triggers: Freeze, Storm, and First Fire
Edmond’s climate puts your chimney through a specific annual cycle of stress. Knowing the three triggers below keeps you ahead of it, so you’re checking at the times that matter rather than on a single calendar date.
After the first hard freeze
Water works its way into masonry cracks during wet weather. When a hard freeze arrives, that water expands and splits the masonry from the inside. This is why cracks in an Edmond crown or firebox tend to get visibly worse after the first hard freeze of a season, not before it. Put a walkaround on your calendar for the first week after the first hard overnight freeze each winter.
- Check the crown and upper masonry from the ground for new cracks or spalled edges.
- Look at the firebox and any visible masonry inside for fresh cracks or fallen mortar.
- Watch ceilings and attic near the chimney for new water stains.
After a severe thunderstorm
Edmond sees serious spring storms, and they do chimney damage that stays hidden. Look for:
- A cap that’s become loose, bent, or displaced from wind.
- Loose flashing or missing flashing fasteners.
- Branches or debris on the roof near the chimney.
- Anything unusual in the firebox (soot dislodged, masonry grit).
Before the first fire of fall
Before you light the first fire of the season, the whole system should have had its annual sweep and inspection. This is the single most valuable item on the entire checklist. A summer of disuse is when pest nests get built, cracks open, and creosote from last season sits waiting. Getting the inspection and cleaning done ahead of the first fire means the season starts clean and with confidence. If you’re in doubt about scheduling, ask Edmond neighbors who’ve had chimney work done recently about their timing.
How to Document Chimney Condition Year Over Year
Most chimney problems are not surprising when they happen. They’re the end of a years-long drift. The single highest-leverage thing you can do as a homeowner is keep the record that tracks that drift, because it turns chimney maintenance from a reactive scramble into a planned expense.
Here’s a documentation system that works:
- Take photos at every annual inspection. One of the crown, one of the cap, one looking down the flue, one of the firebox and damper.
- Keep a dated folder. On your phone or in a file box, whichever you’ll actually use. Each photo set gets the date.
- Record the inspection outcome in one sentence. “Crown showing hairline cracks, monitor next year.” “Liner intact, cap secure.” One sentence, every year.
- Note any recommended repairs with an urgency level. Ask your inspector to be explicit: needs doing now, needs doing within a year, monitor only. That distinction is how you budget.
When the sweep and inspection report are done together, the documentation comes free with the visit. What you’re buying with a professional inspection is a qualified set of eyes on the whole system plus a written record you can compare against next year and the year after. If you have a warranty, insurance policy, or you’re preparing to sell the house, that record is exactly what a buyer or adjuster wants to see. Our chimney repair service works from that same record, so we’re never guessing what a chimney looked like last year before recommending a fix.
A chimney with documented inspections every year is easier to maintain, easier to sell, and easier to repair in a planned way. A chimney without a record is a chimney where the first sign of trouble tends to be the expensive one.
Red Flags That Mean Stop Using the Fireplace Tonight
The distinction that matters here is between “schedule this” and “stop now.” Most chimney findings are the first kind. But there are specific conditions where a fire in the fireplace is genuinely unsafe tonight, not next month, and knowing them protects your household.
Stop using the fireplace now if you see or experience any of these:
- Smoke rolling into the room from the fireplace opening, not just the first few minutes of a cold start. Persistent smoke spillage means the draft is compromised, which can mean an obstruction in the flue, a failed damper, or a liner problem.
- Visible cracks or gaps in the flue liner as reported on a recent inspection, until repaired. A damaged liner is a direct path for heat and gases into the structure.
- A heavy, glassy, glazed layer of creosote inside the flue. This is the third-stage creosote that catches fire readily. It needs removal before another fire is lit.
- A chimney fire has occurred, even a small one. Any chimney fire warrants a full inspection before the fireplace is used again; damage is often invisible from the outside.
- Water actively entering the firebox or a chimney that’s visibly saturated, because that moisture combined with heat can spall the masonry into the firebox.
- Crumbling or missing firebox mortar with firebrick that moves, because the firebox is no longer containing the fire.
- Carbon monoxide alarms activating while a fire is burning. Stop, open windows, get everyone outside, call the fire department, and do not use the fireplace until it’s professionally inspected.
- An animal nesting in the flue or a bird or squirrel that’s come down into the firebox. Do not light a fire to drive it out.
- A cap that’s completely missing and the flue open to the weather, with no recent inspection to confirm the interior is dry and undamaged.
If any of these apply to your Edmond chimney, contact us before the next fire. Getting someone qualified out to look is always going to be cheaper than a chimney fire or a CO event that could have been prevented. Do not attempt to burn off a liner problem, do not use a fireplace with a failing firebox, and do not trust a “clean” flue that showed any of the conditions above.
A Simple Annual Maintenance Timeline for Edmond
Putting the checklist on a calendar makes it something you’ll actually do. Here’s the timing that works for most Edmond homes, year after year:
- Late summer / early fall: Book the annual sweep and inspection before the first fire. This is the essential appointment. Our technicians have up to 14 years of experience running these on whole systems, and combining the sweep and inspection in one visit means nothing is skipped.
- First hard freeze of winter: Walk the exterior, check the crown, cap, and any roof-adjacent flashing from the ground, and check ceilings and attic for fresh water stains.
- After any major storm: Inspect the cap, flashing, and roof-adjacent area for wind or debris damage. Note anything that changed.
- Mid-winter: Confirm the damper is moving freely and the firebox joints are intact. If you burn heavily, check creosote accumulation in the firebox and near the damper.
- Spring: A quick visual check of the crown and cap as the season turns is enough if the annual inspection came back clean. Update the photo folder.
This timeline handles the vast majority of homes. Homes with heavy fire use, older masonry, or a history of liner repairs should consider a mid-season inspection as well. When it’s time to book, a quick call handles it: “Call (844) 834-5906. We answer 24/7. Fast dispatch from 7am to 7pm, Sunday through Friday.”
Common Mistakes to Avoid
- Checking the chimney with a flashlight from the firebox and calling it a day. That view misses the cap, crown, flashing, smoke chamber, and upper flue entirely. The parts you can’t see are the ones most likely to fail.
- Waiting until the first fire of fall to think about the chimney. By then you’re trying to schedule in the busiest week of the season. Book the sweep and inspection in late summer, ahead of the rush.
- Skipping the inspection because the flue “looks clean.” Cleaning and inspection are two different jobs. A clean flue can still have a cracked liner or a failed damper, and only one of those is visible without a camera.
- Doing your own roof-level inspection. The flashing joint and upper masonry need to be looked at from the roof, and it’s not a safe place for a homeowner on a ladder. The risks aren’t worth what you’d save over an annual inspection.
- Replacing a failed cap with the cheapest thing at the hardware store. Cheap caps rust out fast and don’t fit the flue properly. A professional-grade cap pays for itself in the years it lasts, and it’s one of the cheapest repairs a chimney needs.
- Hiring a sweep who only sweeps. If the visit only involves a brush and no inspection, you’ll get a “clean” chimney and no information about the parts that matter. You want a specialist who can sweep, inspect, and carry a repair through in one relationship, not refer you out the moment a problem is found.
- Not writing anything down. Without a year-over-year record, every problem is a surprise. A one-sentence note per year turns surprises into planned repairs.
- Burning off a creosote problem, a liner crack, or an animal nest. Every one of these is a stop and call situation, not a burn it off situation.
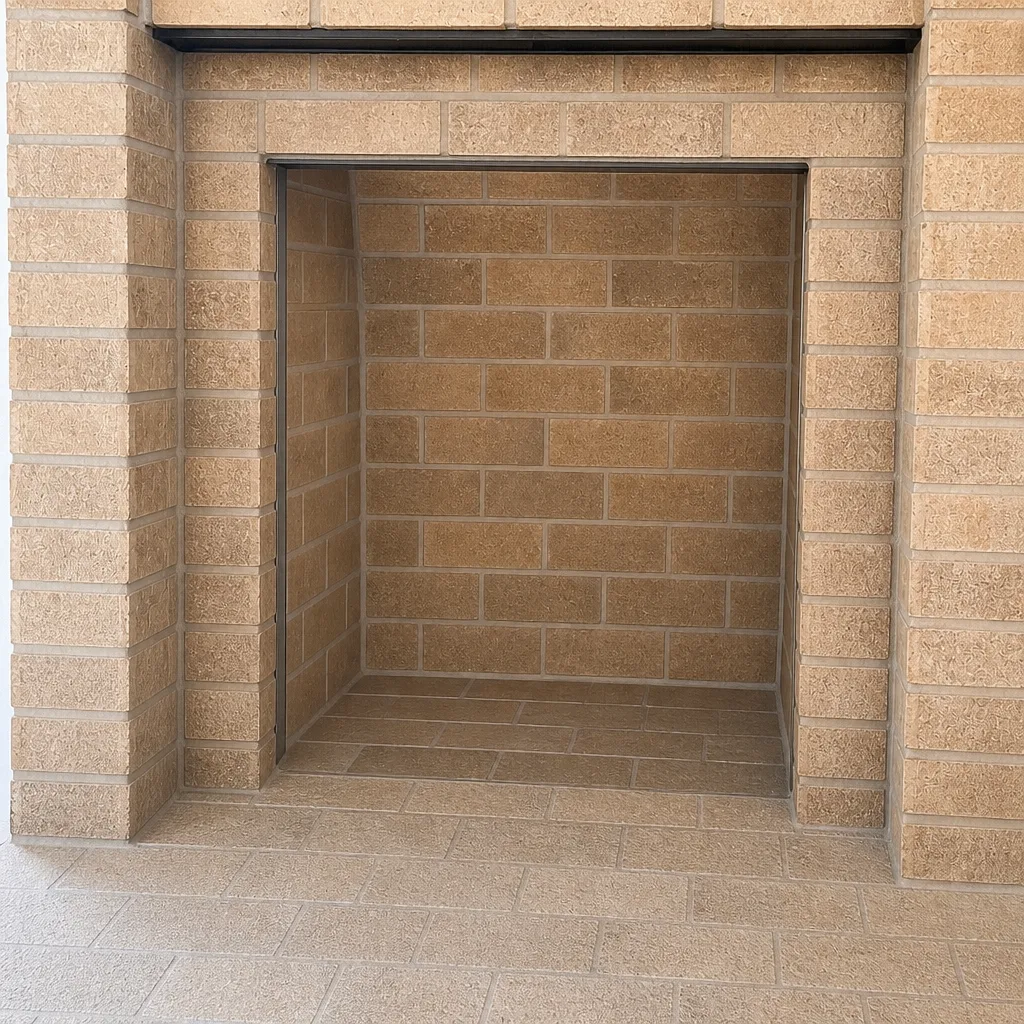
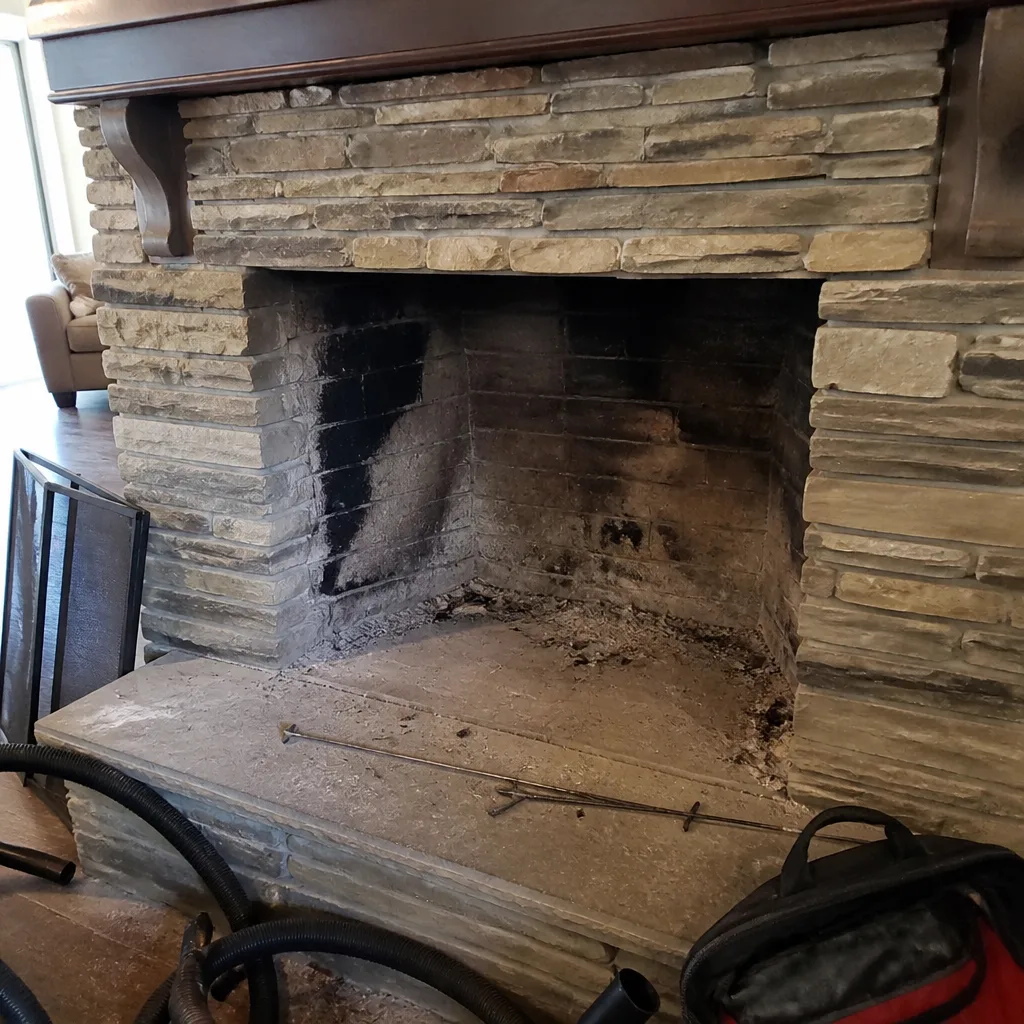
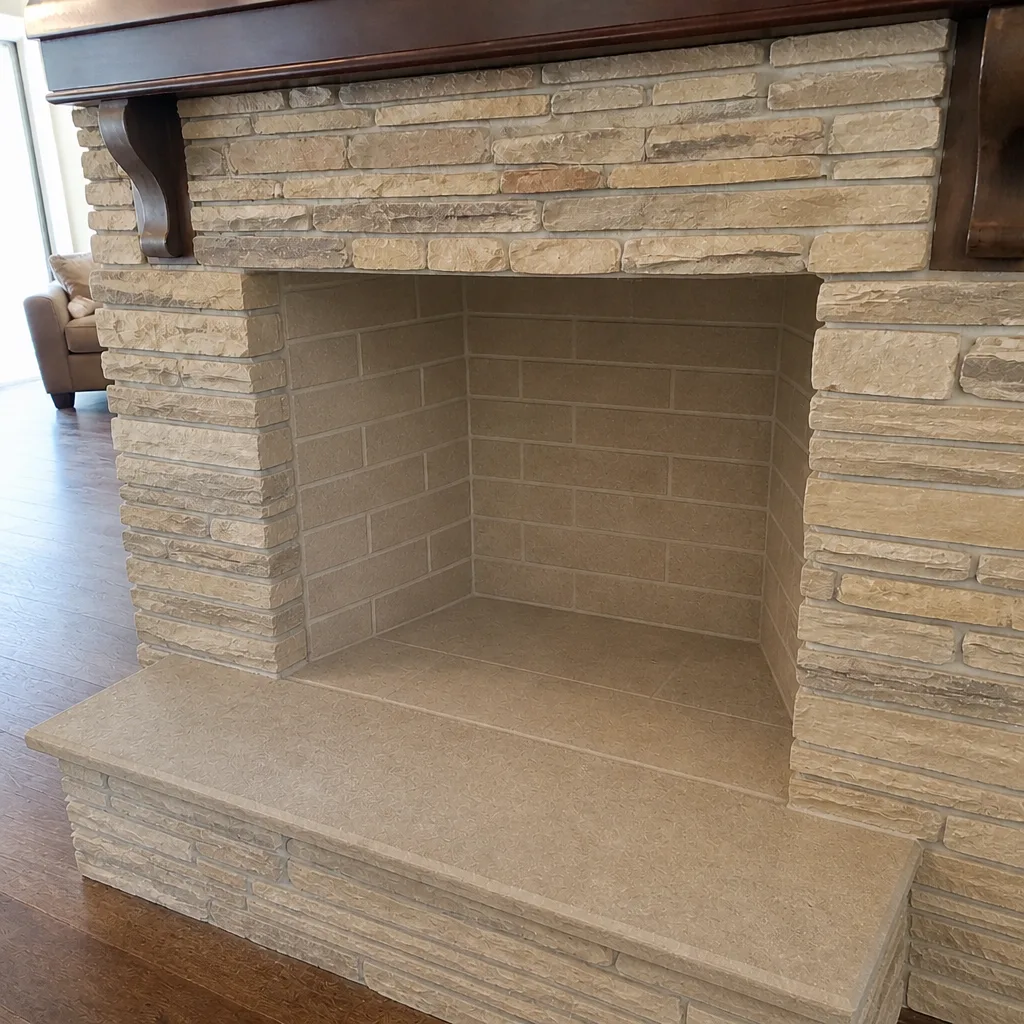
See the difference
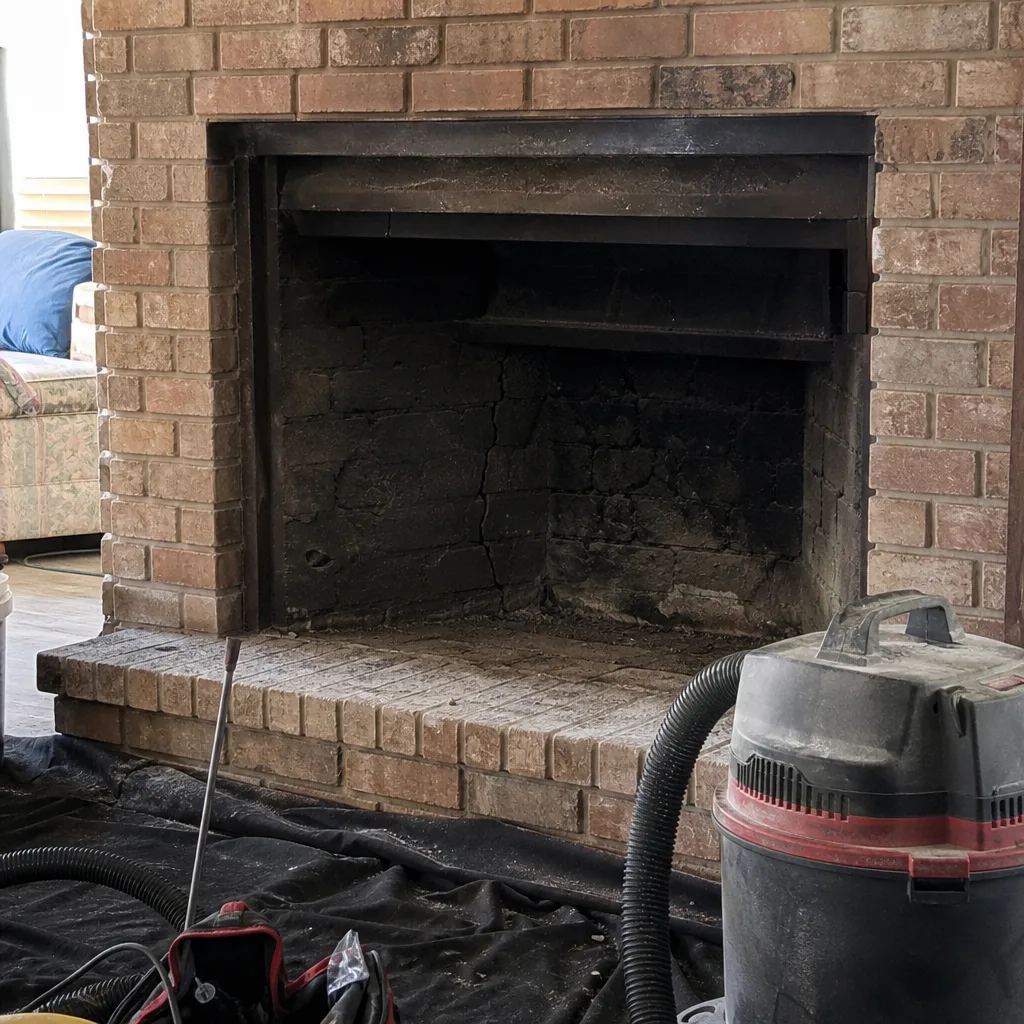 Before
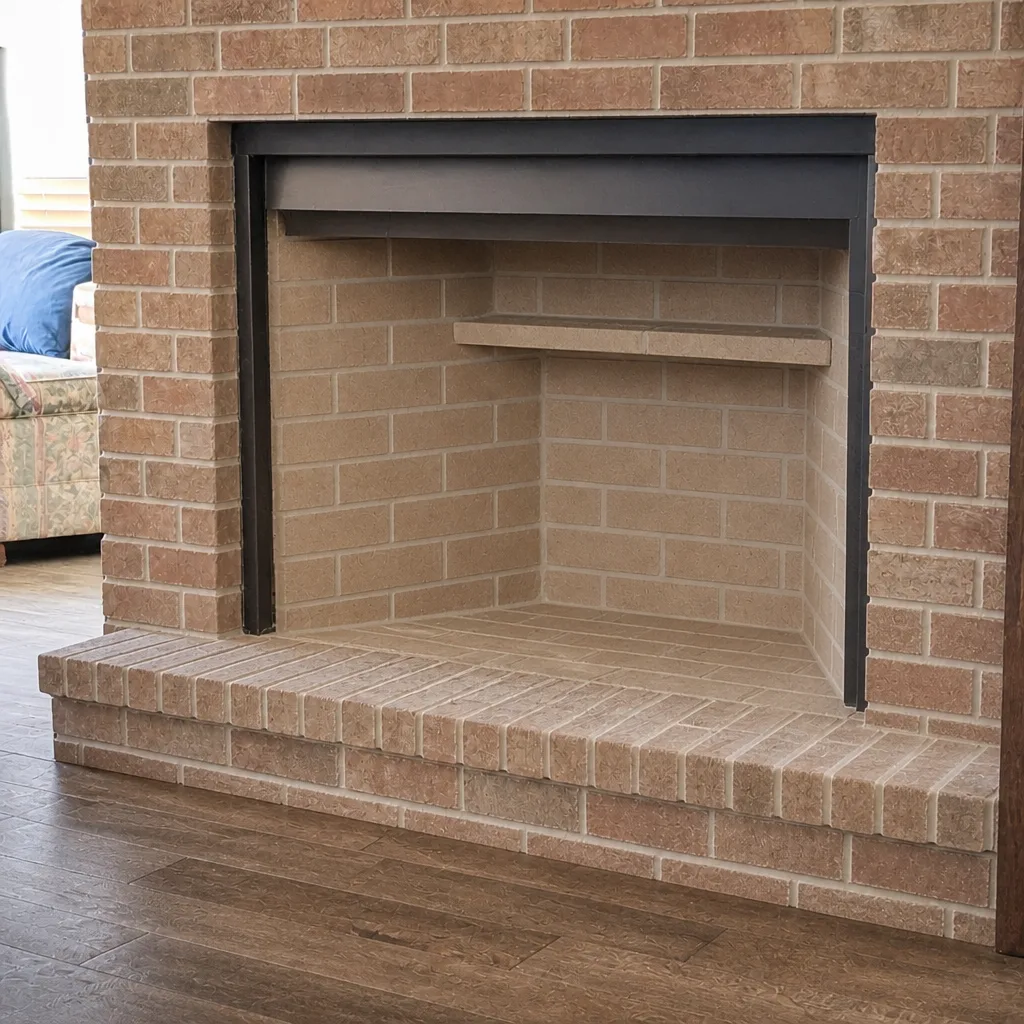 After
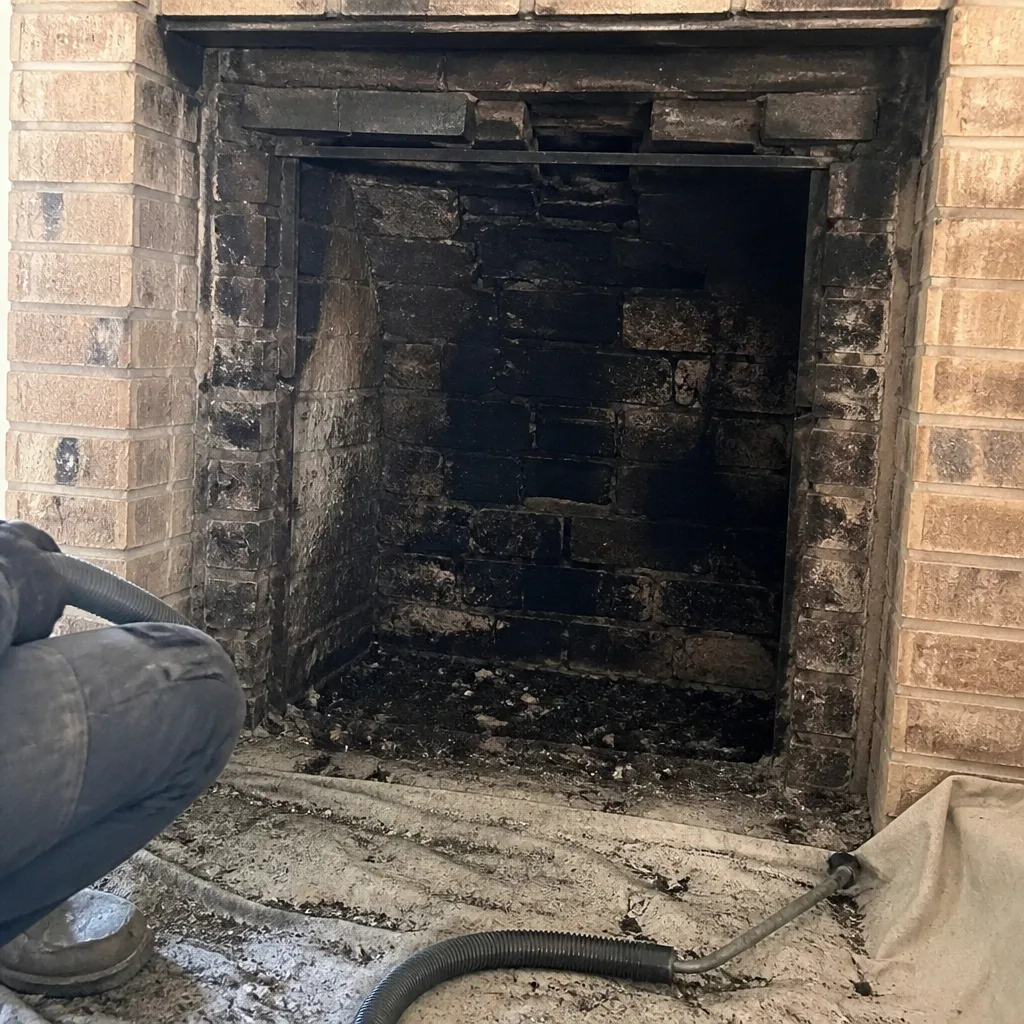 Before
 After
 Before
 After
When to Call a Professional
Call us if any of the following describes your situation: your chimney hasn’t been swept or inspected in over a year; you’ve noticed smoke entering the room, water stains near the chimney, or a cap that’s come loose; you burn wood or use a gas insert regularly through the season and want a whole-system assessment before it starts; you’re preparing to sell the house and need documentation of chimney condition; or you’ve had any chimney fire, no matter how small. Any of the red-flag conditions on this page is also an immediate call. Our chimney repair work picks up where the inspection report ends, so one call covers the sweep, the inspection, and whatever fix the inspection uncovers. Edmond Chimney Sweep offers free estimates – call (844) 834-5906 to get yours scheduled.
Frequently Asked Questions
Once a year is the standard. Book the sweep and inspection before the first fire of fall so the whole system gets checked ahead of the season. Homes with heavy fire use or older masonry benefit from an extra inspection mid-season. Call (844) 834-5906 for an exact quote – estimates are free.
A sweep removes creosote, soot, and debris; an inspection evaluates the condition of the whole system, including the liner, smoke chamber, cap, crown, and flashing. A well-run visit does both, and you want both. If a sweep doesn’t include an inspection, the checklist on this page has gaps. Call (844) 834-5906 for an exact quote – estimates are free.
Yes, from the ground and from the fireside. You can safely check the cap with binoculars, look at the crown from the yard, operate the damper, and inspect the firebox mortar joints. You should not go on the roof, and you cannot properly inspect the liner, smoke chamber, or flashing without a professional with a camera. Call (844) 834-5906 for an exact quote – estimates are free.
Water finds hairline cracks in the crown or masonry, freezes overnight, expands, and widens the crack. That’s why crowns and firebox joints tend to worsen after the first hard freeze each season rather than before it. If your annual inspection flagged a “monitor only” crack on your crown, the first hard freeze is when you want to take a fresh look. Call (844) 834-5906 for an exact quote – estimates are free.
It’s serious enough to stop lighting fires until it’s repaired. A cracked or gapped liner is a direct route for heat and combustion gases into the surrounding structure; you want to stop using the fireplace, not schedule “soon.” We inspect it, describe the options – HeatShield resurfacing or a DuraFlex reline among them – and set the price in a written estimate. Call (844) 834-5906 for an exact quote – estimates are free.
The simplest system is annual photos plus a one-sentence note on each inspection outcome, kept in a single file. When the inspection is done by a professional, the report provides a written record. Home sellers, buyers, and insurers value documented inspection history. Call (844) 834-5906 to get one scheduled for your home.
The Bottom Line
The checklist that actually protects an Edmond chimney isn’t a single annual reminder, it’s a system-by-system document that looks at the cap, crown, flashing, liner, smoke chamber, damper, and firebox as parts of one assembly. Homeowners can meaningfully handle the exterior visual checks and the fireside checks; the interior liner and smoke chamber require a camera and a trained eye. Time the annual sweep and inspection before the first fire of fall. Then use Oklahoma’s three seasonal triggers to catch the drift that leads to repairs. Write it down. Know the red flags that mean stop now, and let the rest be planned.
Our three core services – sweeping, inspection, and repair – are handled under one roof with professional-grade materials from DuraFlex, HeatShield, Gelco, Olympia Chimney, Famco, and Copperfield. A clean chimney is the starting point. A safe chimney is the goal. We carry the repair through, so you’re not juggling a second contractor the moment a problem shows up. Call (844) 834-5906 for a free estimate. We answer 24/7. Fast dispatch from 7am to 7pm, Sunday through Friday.
Written by the team at Edmond Chimney Sweep.